How Are Glass Splashbacks Fitted?
How Are Glass Splashbacks Fitted?
A guide to how we fit our glass splashbacks
We have created a guide for how to fit our bespoke made to measure splashbacks, however, this guide can also be used to explain how to fit a DIY single panel splashback yourself. With bespoke splashbacks, the measuring process one of the most crucial steps to ensuring the splashback can be fit easily and correctly. If the area is measured correctly, the fitting process with run smoothly.
Precise measuring using Prodim Proliner
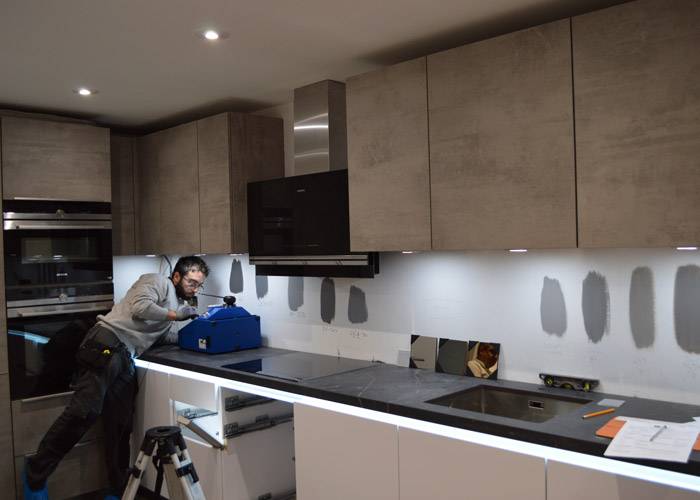
Accuracy in measuring is key in helping the fitting process run as smoothly as possible. Our Prodim Proliner eliminates human error. The Proliner uses a wire to mark the relevant points such as corners, curves and cutouts and the machine then converts these measurements into a digital drawing of your splashback. The Proliner is extremely accurate and allows us to create complex splashback shapes with no error when getting to the fitting stage.
Create Design Visuals
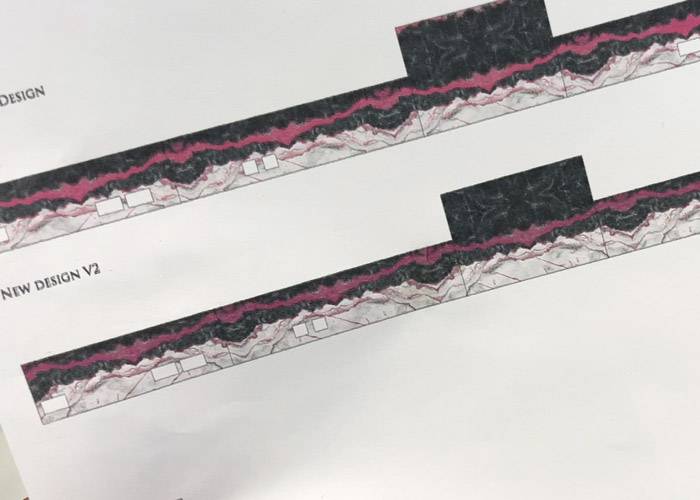
Using the measurements, visuals of the art design will be created by our Graphic Designer and agreed upon with the customer. Amendments can be made at this stage if the customer would like a different placement, colours or size of the design. You can see below the customer decided they wanted the placement of the design moved up slightly.
Glass is cut to precise size with cut-outs etc.
This is curial to the fitting running smoothly. When the glass is measured and cut with the perfect measurements, the fitting process will be a lot easier. We make sure that all your cut-outs are included.
Fix with Silicone Adhesive
We use a low modular silicone adhesive to fit the splashbacks to the wall. We choose an appropriate colour for the splashback. We use silicone as it is resistant to UV, water and many chemicals. It can also resist low and high temperatures from -60ºc to 120ºC. Choosing the correct adhesive is crucial in ensuring the splashbacks longevity. Our fitters have over 8 years of experience.
![]()
The silicone is applied in equal size, evenly dispersed ‘blobs’ directly onto the wall, or if you’re using a DIY single panel hob splashback, you can apply the ‘blobs’ to the back of the glass panel.
![]()
Gently press the glass panel to the wall
Start from the bottom to the top. Gently press and hold the glass panel onto the silicone ‘blobs’ and hold for a few seconds to the wall to make sure the panel is secured.
![]()
Apply the Silicone Seal
A neat, consistent silicone seal means no excess moisture or bacteria can travel behind the splashback. It also gives off a tidy and well-kept finish. This part is harder than it looks! For precision, we use the Wolfcraft Caulking gun.
![]()
![]()
The silicone must be applied as evenly as possible for a tidy result.
![]()
The excess silicone is then removed for a nice neat edge.
Socket Plates
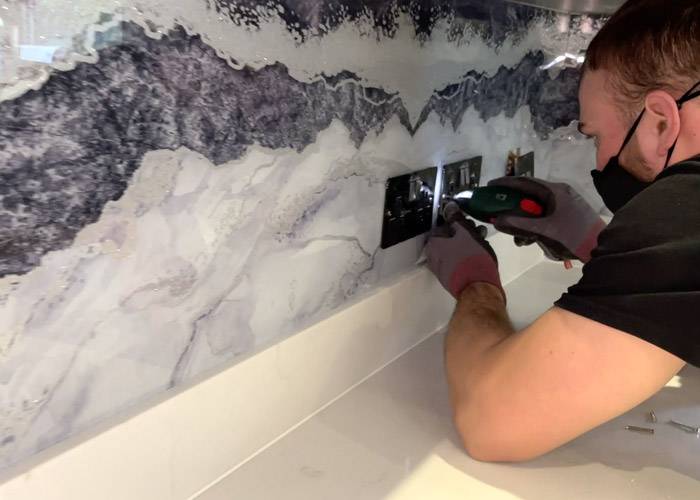
The final details are important. Choose the correct socket plates to complement your splashback design. For example, if you’ve chosen a mirrored splashback, brushed stainless steel or polished chrome socket covers will create a cohesive look.
DIY Glass Splashbacks
Although our bespoke made to measure splashbacks will require a professional fitter to fit the splashback, we have recently released a range of DIY hob splashbacks which are easy to fit with ease yourself.

